Using VSCode DevContainers with Hazaar
Using VSCode DevContainers with Hazaar
The easiest way to get started with Hazaar is by using the Visual Studio Code Dev Containers extension. This sets up a complete development environment for you, with all dependencies installed and ready to go.
The Hazaar example application is pre-configured for Dev Containers. It includes a Dockerfile and a .devcontainer directory for container configuration, based on the FrankenPHP image. This provides a web server suitable for both development and production.
Tips
For more on FrankenPHP and Hazaar integration, see the FrankenPHP documentation.
1. Prerequisites
Make sure you have the following installed:
- Git: Required to clone the project repository and manage version control.
- Docker Desktop: The engine that powers the containerized environment.
- Visual Studio Code: The recommended code editor for Hazaar development.
- Dev Containers Extension: A VS Code extension that allows you to open your folder inside a Docker container, providing a full-featured development environment without local clutter.
2. Clone the Example Application
Clone the Hazaar example application using Git:
git clone https://git.hazaar.io/hazaar/hazaar myappThis creates a new myapp directory with the application code and example configuration.
3. Open in VSCode and Launch the Dev Container
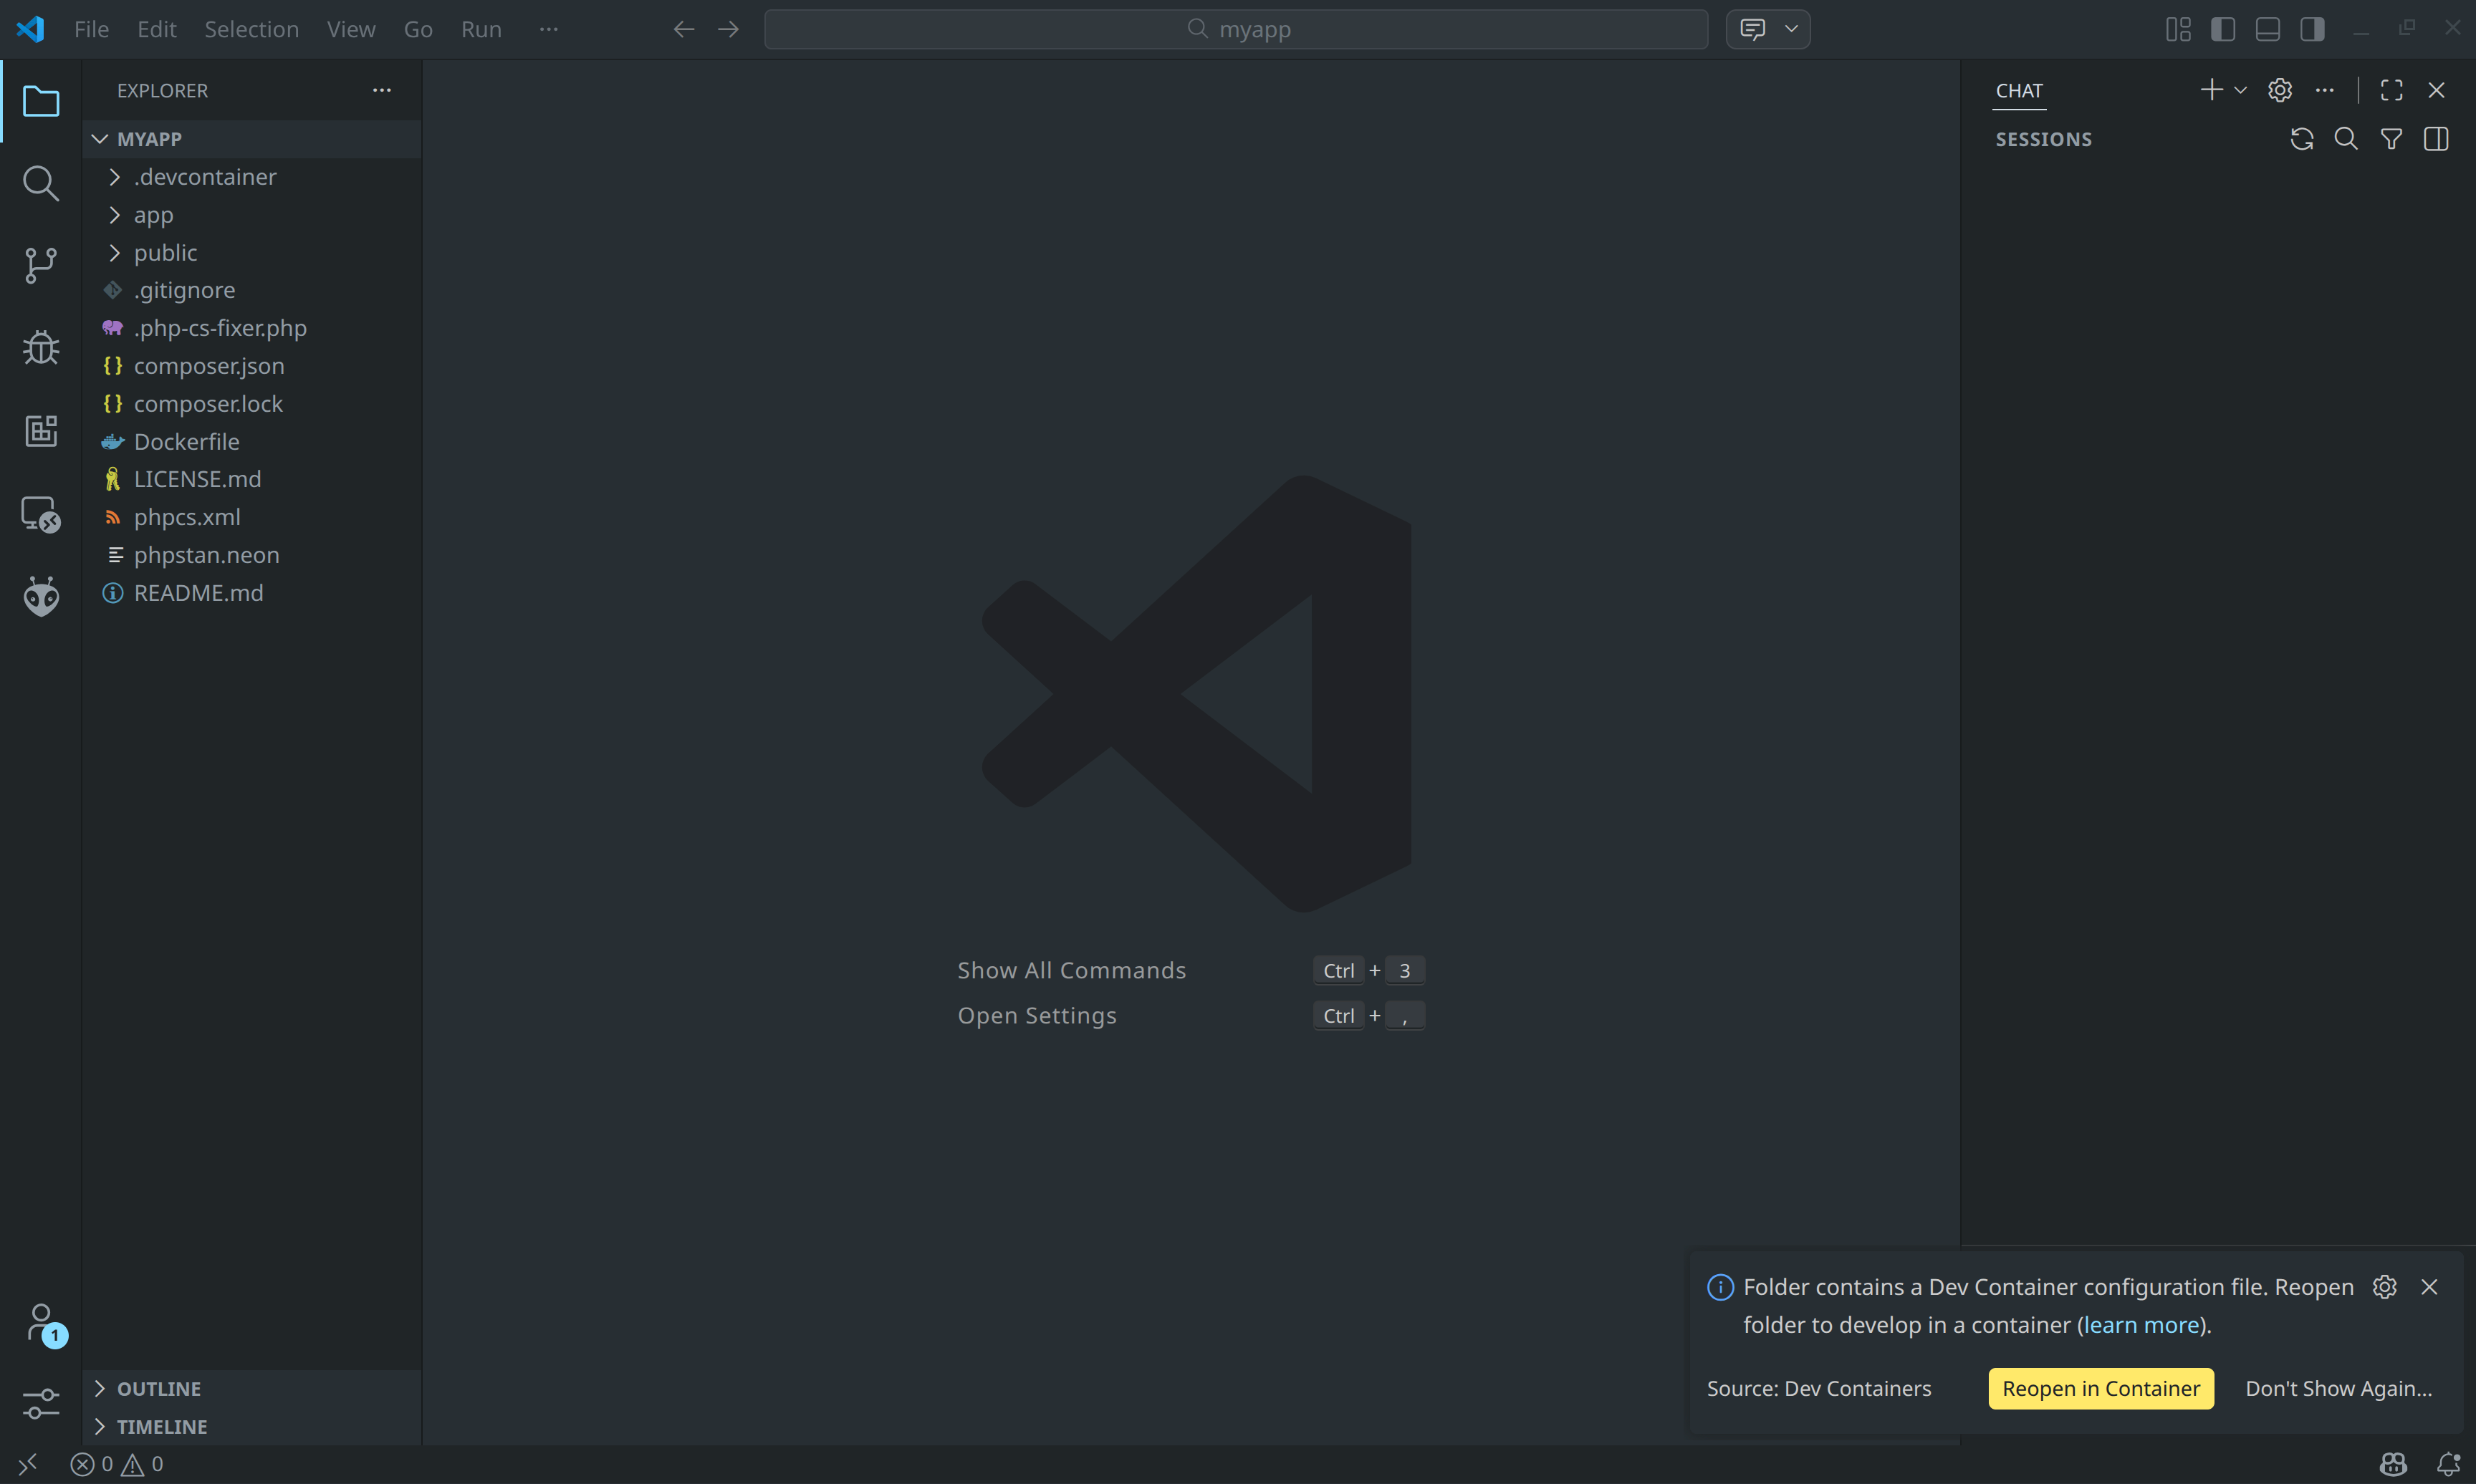
- Open the
myappfolder in Visual Studio Code. - When prompted by the Dev Containers extension, click Reopen in Container.
This will:
- Build and start the development container
- Install all required dependencies
- Launch a web server for your application
Note: The first build may take a few minutes depending on your system and internet speed.
4. Run and View the Application
Upon completion of the container build, Visual Studio Code will automatically execute the post-creation scripts. This process includes the installation of all required project dependencies via Composer.
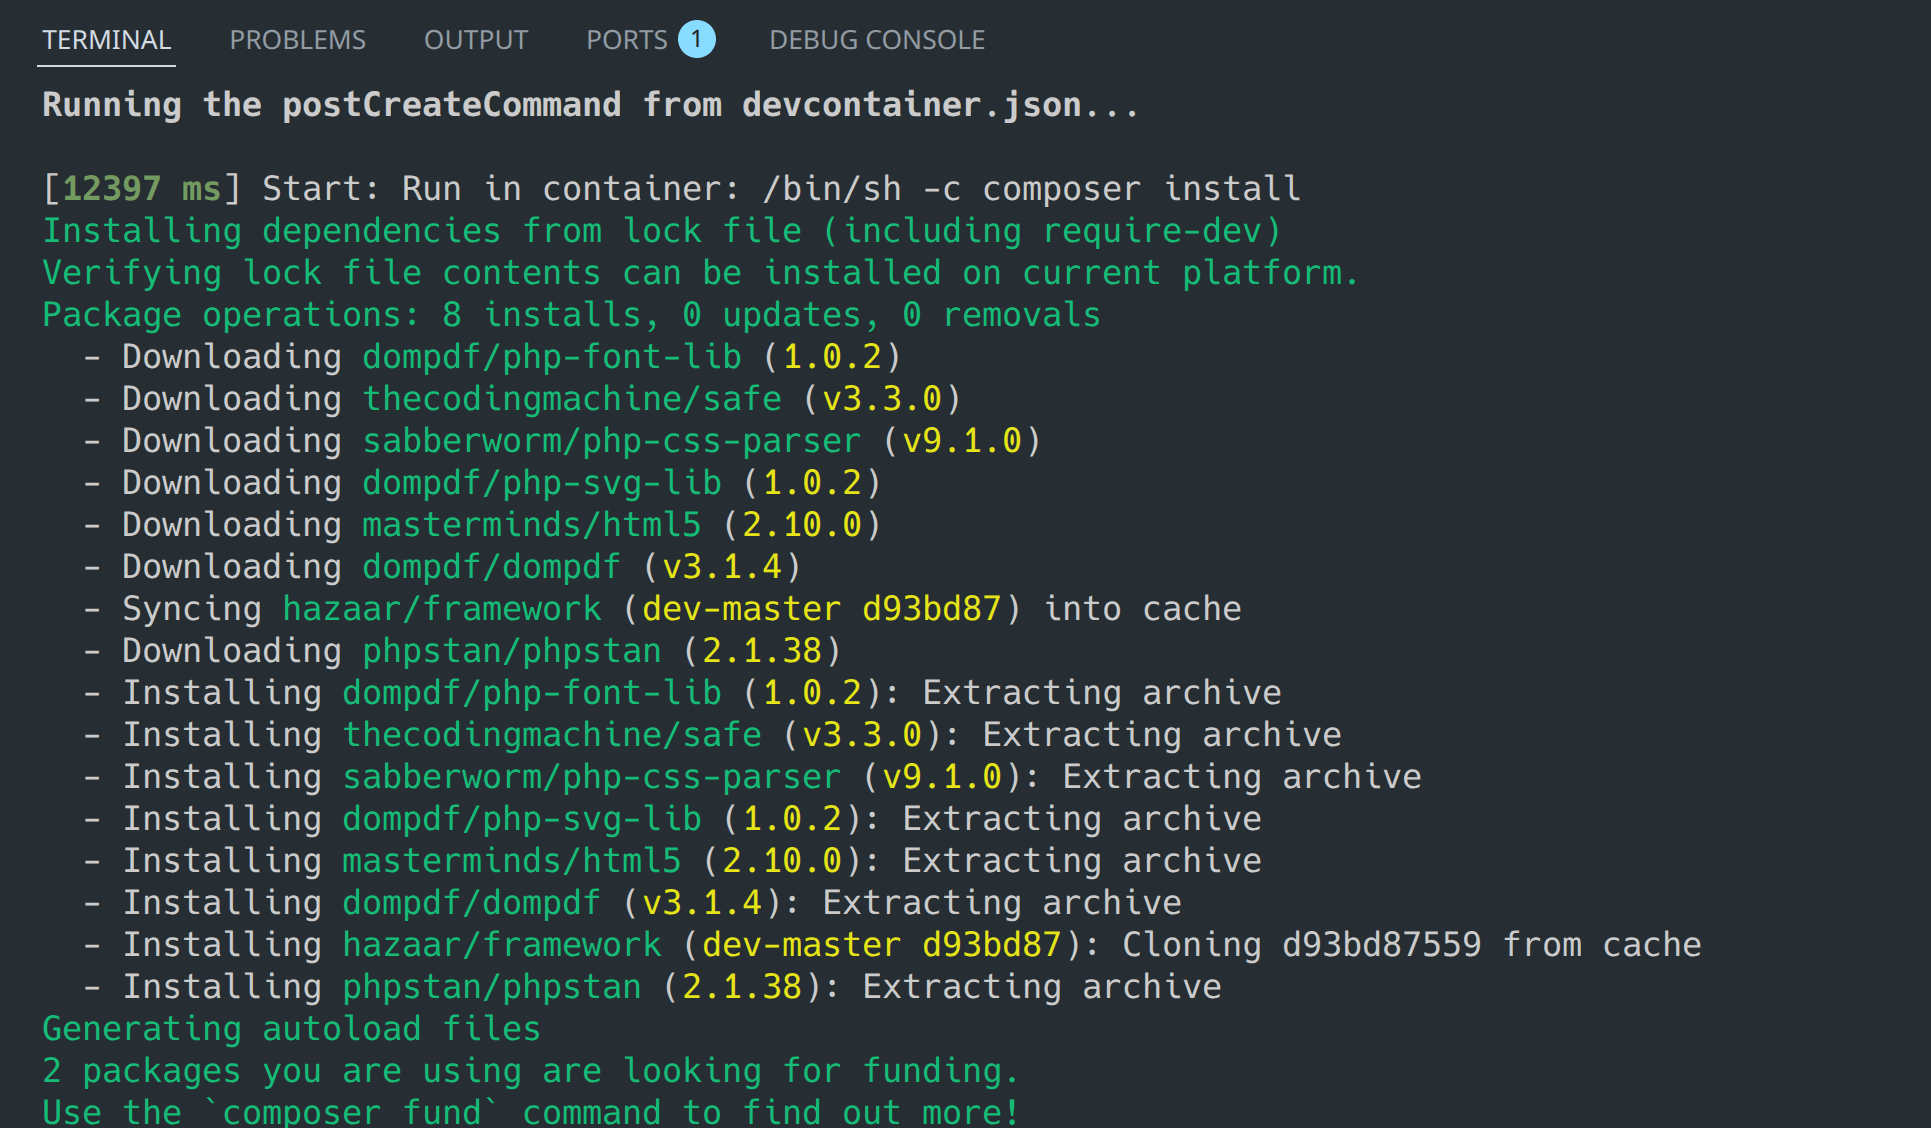
Once dependencies are installed, the FrankenPHP application server will start automatically.

When the server startup sequence is complete, your application is fully operational. You can access it by navigating to http://localhost:8080 in your web browser.
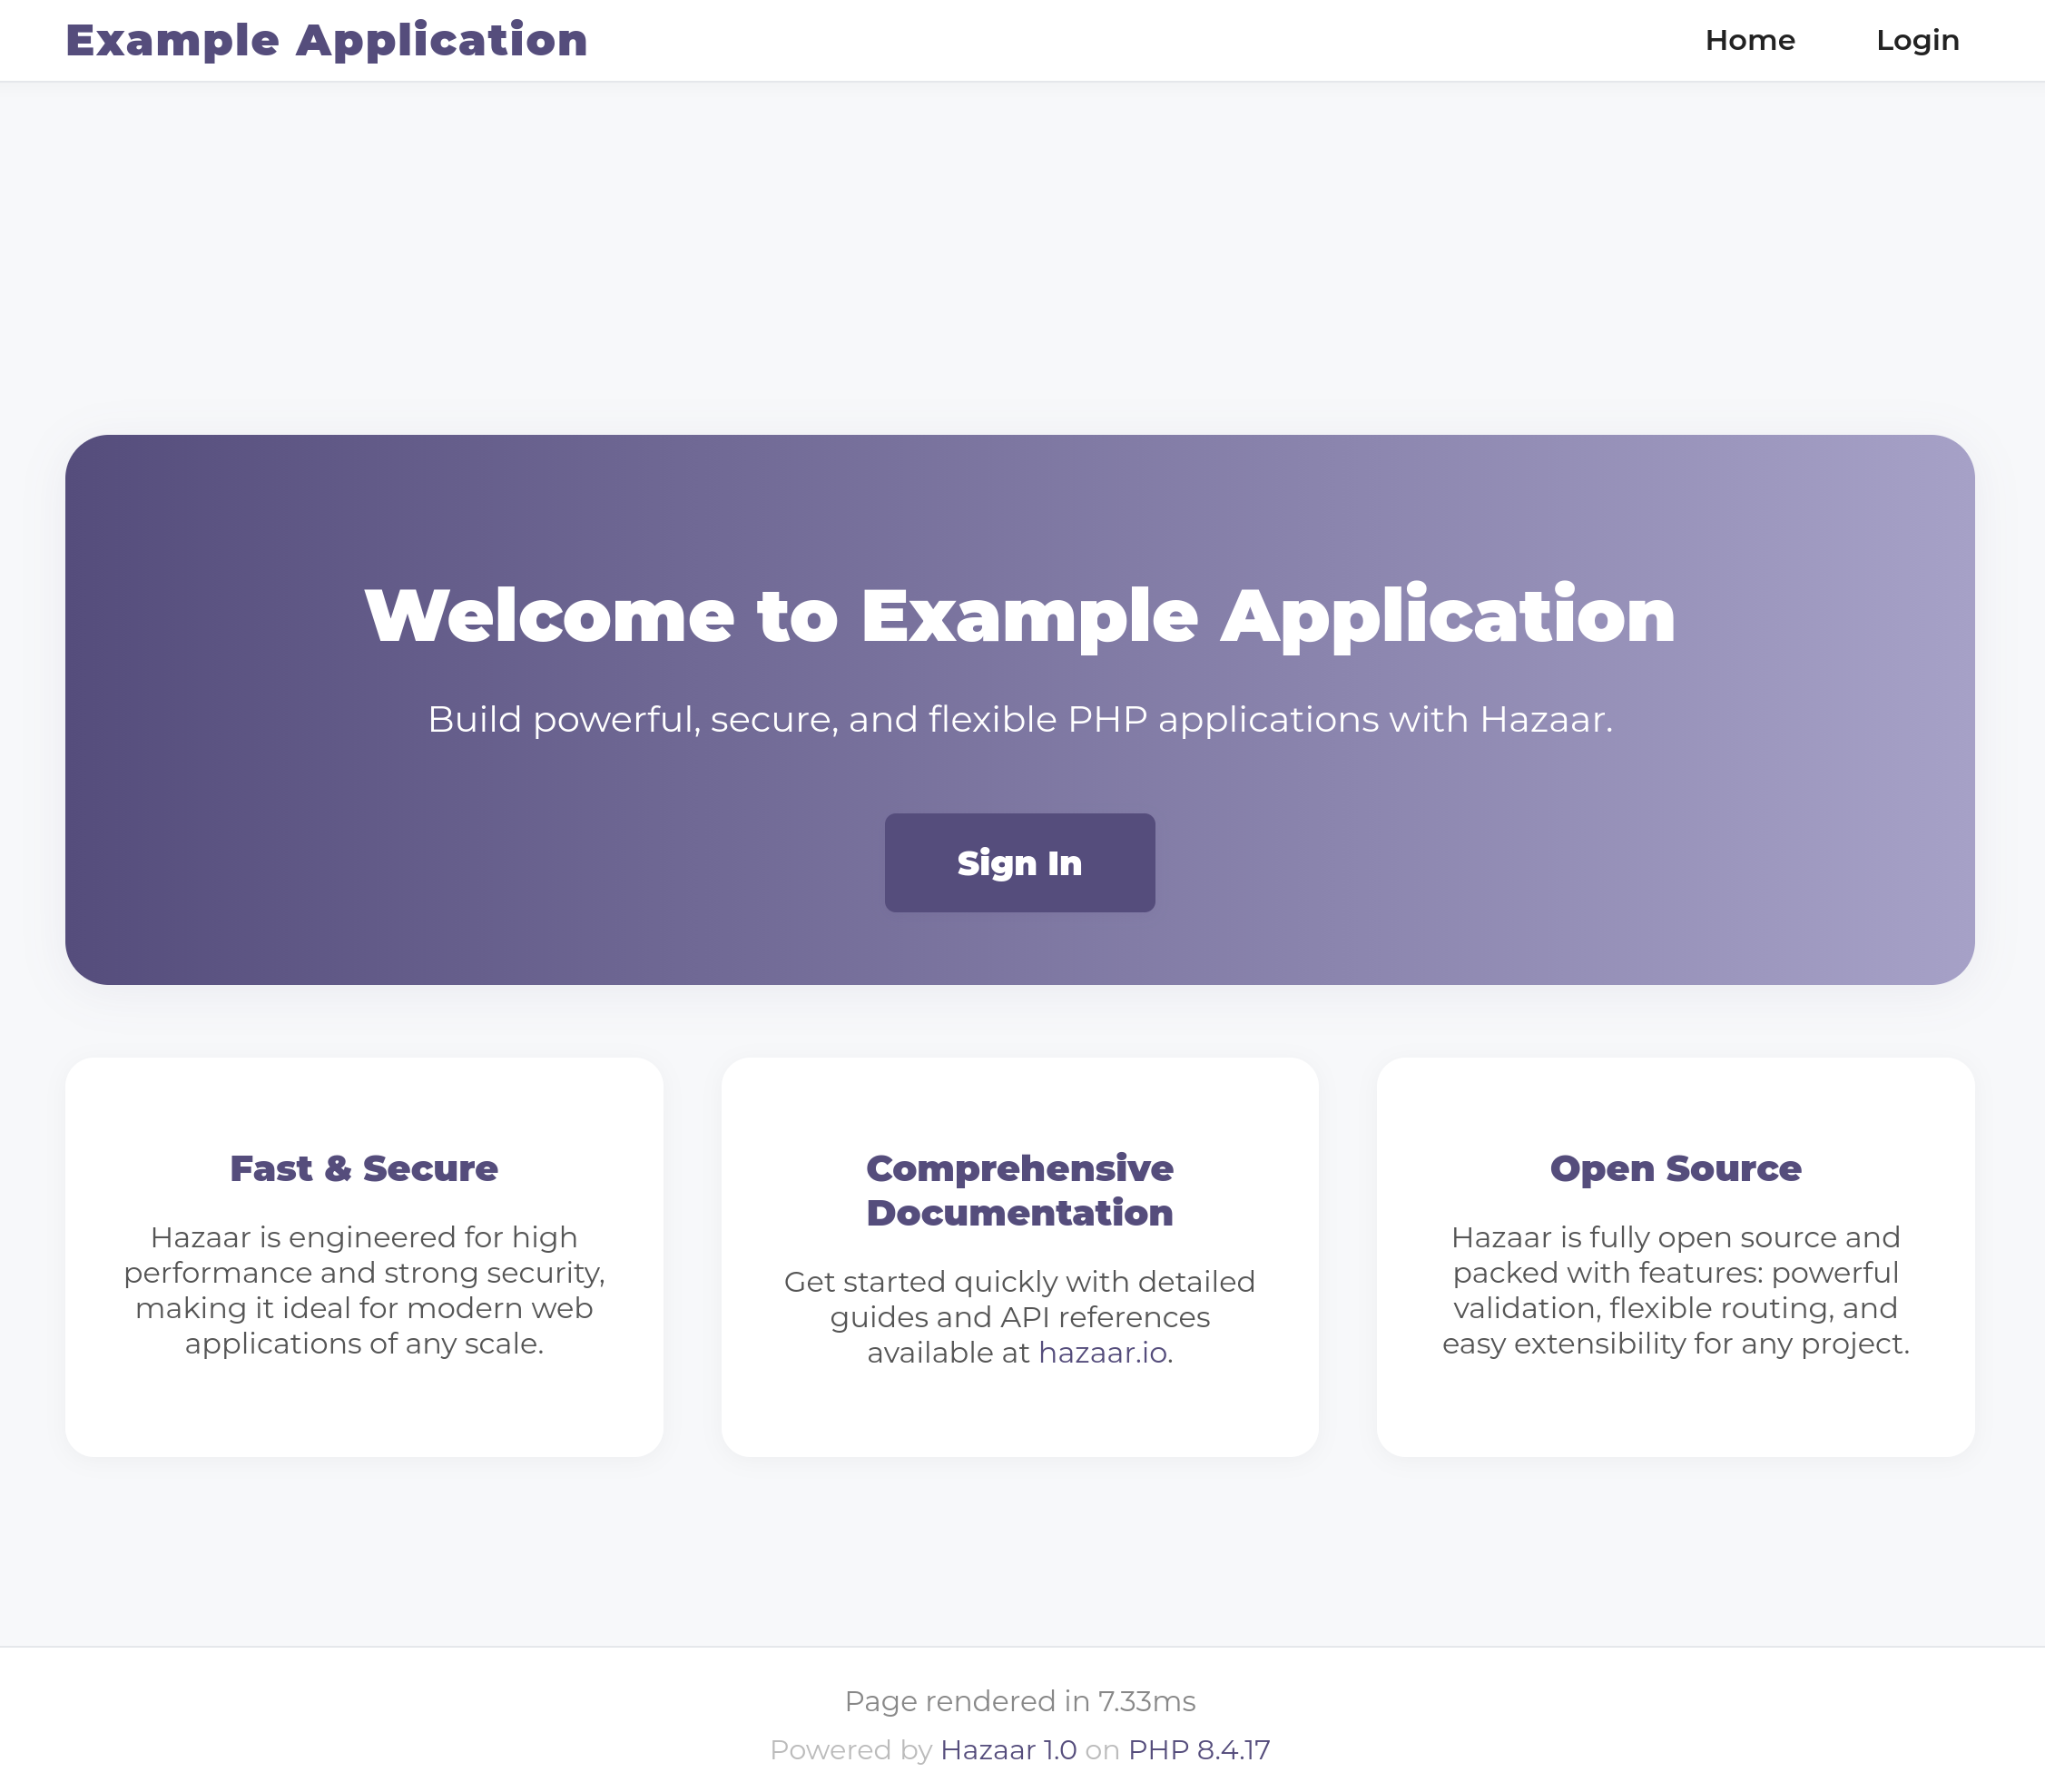
5. Example Application
The example application provides a clear, working starting point for your project. It demonstrates several core features of Hazaar Framework, including:
- Directory Structure: A standard layout with separate application and public directories.
- Smarty Templates: Examples of how to use the powerful Smarty template engine for your views.
- Authentication: A basic implementation of user authentication, complete with login pages.
- Routing & Middleware: Practical examples of defining routes and using middleware to secure endpoints.
- Dev Container: A fully configured environment for rapid development.
What's Next?
- Configuration – Learn how to configure your application.
- Routing – Understand routing in Hazaar.
- Controllers – Create controllers for your app.
- Views – Build views for your app.
- Models – Work with models.
- Authentication – Implement authentication.
- Database – Use databases in your app.
If you have questions or run into issues, check the FAQ or reach out via the contact page.